
How to Set Up and Use Wireshark (With Real-World Examples)
Introduction:
Wireshark is one of the most powerful and widely used network protocol analyzers in the world. Whether you’re a cybersecurity enthusiast, network engineer, or just a curious techie, Wireshark lets you dive deep into network traffic in real time. In this guide, you’ll learn how to install Wireshark and use it to capture and analyze packets — with practical examples that anyone can follow.
💻 What Is Wireshark?
Wireshark is a free, open-source network analyzer used for:
- Capturing and inspecting packets
- Troubleshooting network issues
- Detecting anomalies or malicious activity
- Learning how protocols like TCP, DNS, HTTP, and ARP actually work
It runs on Windows, macOS, and Linux, and supports hundreds of network protocols.
🔧 Step 1: Installing Wireshark
🪟 For Windows:
- Go to https://www.wireshark.org/download.html
- Download the latest Windows installer
- During installation:
- Select “Install WinPcap” or “Npcap” (this is required for packet capture)
- Optional: Install USBPcap if you want USB capture support
- Finish installation and launch Wireshark
🍎 For macOS:
- Install via Homebrew:
brew install wireshark - Or download from the official site and follow the GUI installer
🐧 For Linux (Debian/Ubuntu):
sudo apt update
sudo apt install wireshark -y
- During setup, you may be asked if non-root users should be able to capture packets — choose Yes
- Add yourself to the
wiresharkgroup:sudo usermod -aG wireshark $USER - Reboot or log out/in for changes to apply
🔍 Step 2: Capturing Traffic
- Open Wireshark
- You’ll see a list of network interfaces — choose your active one (e.g.,
Ethernet,Wi-Fi) - Click Start Capture
- Wireshark will begin capturing live packets
To stop the capture, click the red square “Stop” button at the top.
🔎 Step 3: Filtering Packets
Wireshark captures a LOT of traffic. Use filters to narrow down what you’re looking for.
Common Filters:
| Filter | What It Does |
|---|---|
ip.addr == 192.168.1.1 | Show packets to/from this IP |
tcp | Only show TCP packets |
http | Show only HTTP traffic |
dns | Display only DNS queries and responses |
tcp.port == 80 | Show traffic on port 80 (HTTP) |
Type a filter into the top bar and press Enter.
🧪 Real-World Examples of Wireshark Use
🔐 1. Inspecting a DNS Query
- Filter:
dns - Open a browser and go to
example.com - You’ll see a DNS query to resolve the domain name
- Click a packet and inspect the “Queries” and “Answers” section
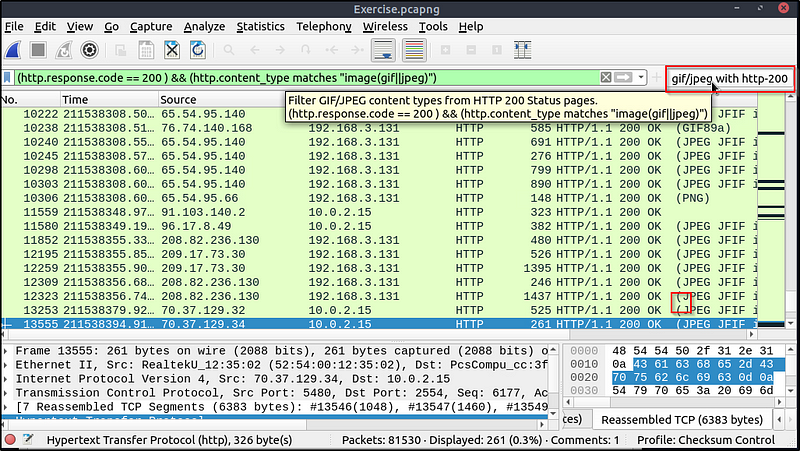
🌐 2. Tracking an HTTP Request
- Filter:
http - Visit a non-HTTPS website (for testing only)
- Wireshark will show:
- Request method (GET/POST)
- Host and URI
- Response status (200 OK, 404 Not Found)
Note: For HTTPS (port 443), traffic is encrypted — you won’t see readable content unless using SSL decryption with the private key.
🕵️♂️ 3. Finding a Device’s MAC Address (ARP)
- Filter:
arp - When a new device joins the network, it performs an ARP request
- You’ll see the IP-to-MAC mapping in real time — useful for device identification
🔐 Safety and Ethics Reminder
- Only use Wireshark on networks you own or have permission to analyze
- Capturing traffic on public or company networks without authorization is often illegal
🧠 Bonus Tips
- Color rules: Wireshark color-codes packets for readability (e.g., TCP retransmits are red)
- Right-click > Follow TCP stream: Lets you see full conversations between client and server
- Capture filters (set before starting): e.g.,
host 192.168.1.5 and port 80
Conclusion:
Wireshark is an incredibly valuable tool for understanding how networks operate, troubleshooting connectivity issues, and sharpening your cybersecurity skills. By learning to capture and filter traffic, you gain insights into the invisible world of data that flows across your network every second.
Related Posts

100 Essential PowerShell Commands for Windows 10 & 11 (2025 Edition)
🖥️ System Information & Performance Get-ComputerInfo — Displays detailed system information. Get-Process — Lists all…

How to Take Windows 11 Out of S Mode: A Step-by-Step Guide
If you’ve recently bought a new laptop or tablet running Windows 11, you might have…

How to Fix the “No Internet, Secured” Error on Windows 10/11
Introduction:Seeing “No Internet, Secured” on your Wi-Fi connection can be frustrating — especially when everything…