
How to Fix the “No Internet, Secured” Error on Windows 10/11

Introduction:
Seeing “No Internet, Secured” on your Wi-Fi connection can be frustrating — especially when everything seems to be working. This common Windows error usually means your device is connected to the router, but not to the internet itself. In this guide, we’ll walk through the most effective ways to fix it.
Step 1: Restart Your Computer and Router
Sometimes a simple reboot clears up any temporary networking glitches.
- Turn off your PC
- Unplug your router for 30 seconds, then plug it back in
- Wait for the connection to fully re-establish
- Turn your PC back on and test the connection
Step 2: Forget and Reconnect to the Network
- Go to Settings > Network & Internet > Wi-Fi
- Click Manage known networks
- Select your Wi-Fi network and click Forget
- Reconnect by entering your Wi-Fi password again
Step 3: Run the Windows Network Troubleshooter
- Right-click on the network icon in the taskbar
- Click Troubleshoot problems
- Follow the prompts and apply any fixes it suggests
Step 4: Reset the TCP/IP Stack (Command Prompt)
- Open Command Prompt as Administrator
- Type the following commands one by one and press Enter after each:
- netsh int ip reset
- netsh winsock reset
- ipconfig /release
- ipconfig /renew
- ipconfig /flushdns
- Restart your computer
Step 5: Disable IPv6
- Go to Control Panel > Network and Sharing Center
- Click your active connection > Properties
- Uncheck Internet Protocol Version 6 (TCP/IPv6)
- Click OK and reboot
Step 6: Update Network Drivers
- Press Win + X and choose Device Manager
- Expand Network adapters
- Right-click your Wi-Fi adapter and choose Update driver
- Choose Search automatically for drivers
Conclusion:
The “No Internet, Secured” error is annoying but solvable. One of the above steps should get you back online. If the issue persists, try connecting another device to the same network — if it also fails, the problem might be with your router or ISP.
Related Posts
100 Essential PowerShell Commands for Windows 10 & 11 (2025 Edition)
🖥️ System Information & Performance Get-ComputerInfo — Displays detailed system information. Get-Process — Lists all…
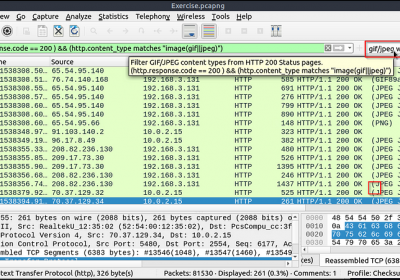
How to Set Up and Use Wireshark (With Real-World Examples)
Introduction:Wireshark is one of the most powerful and widely used network protocol analyzers in the…

How to Take Windows 11 Out of S Mode: A Step-by-Step Guide
If you’ve recently bought a new laptop or tablet running Windows 11, you might have…
Leave a Reply
You must be logged in to post a comment.